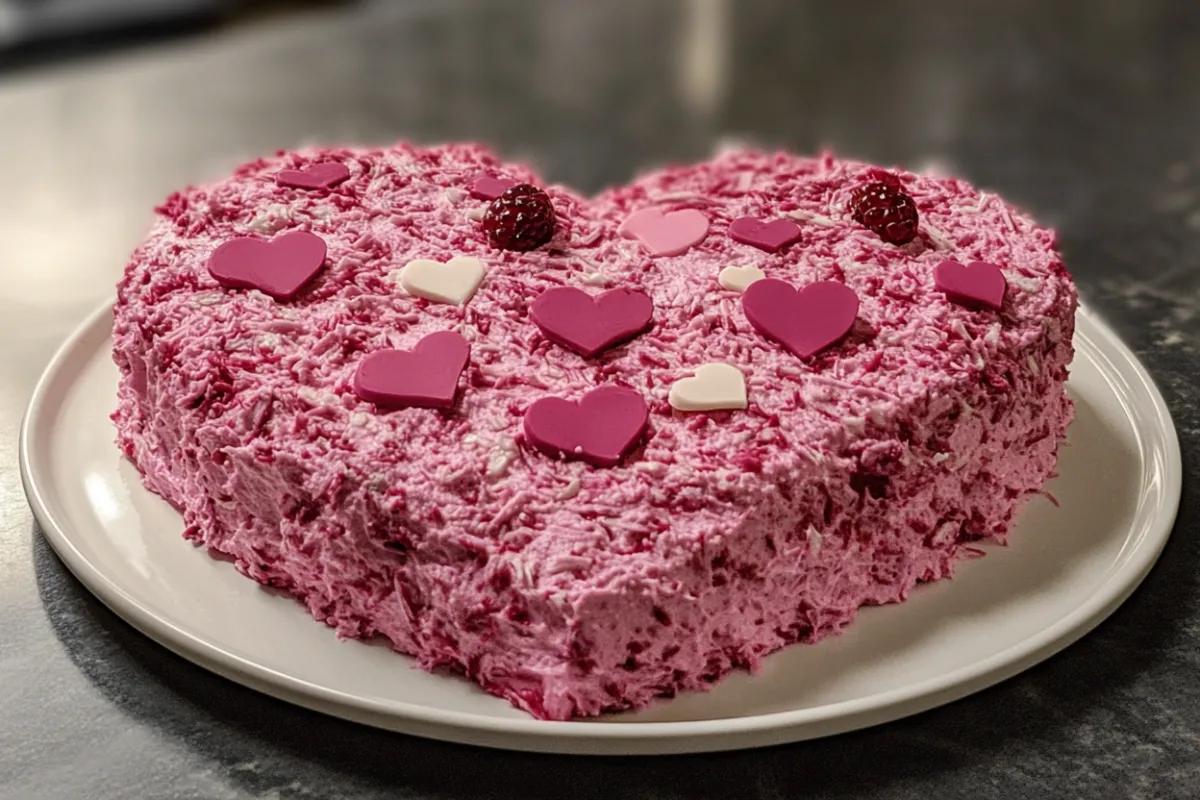
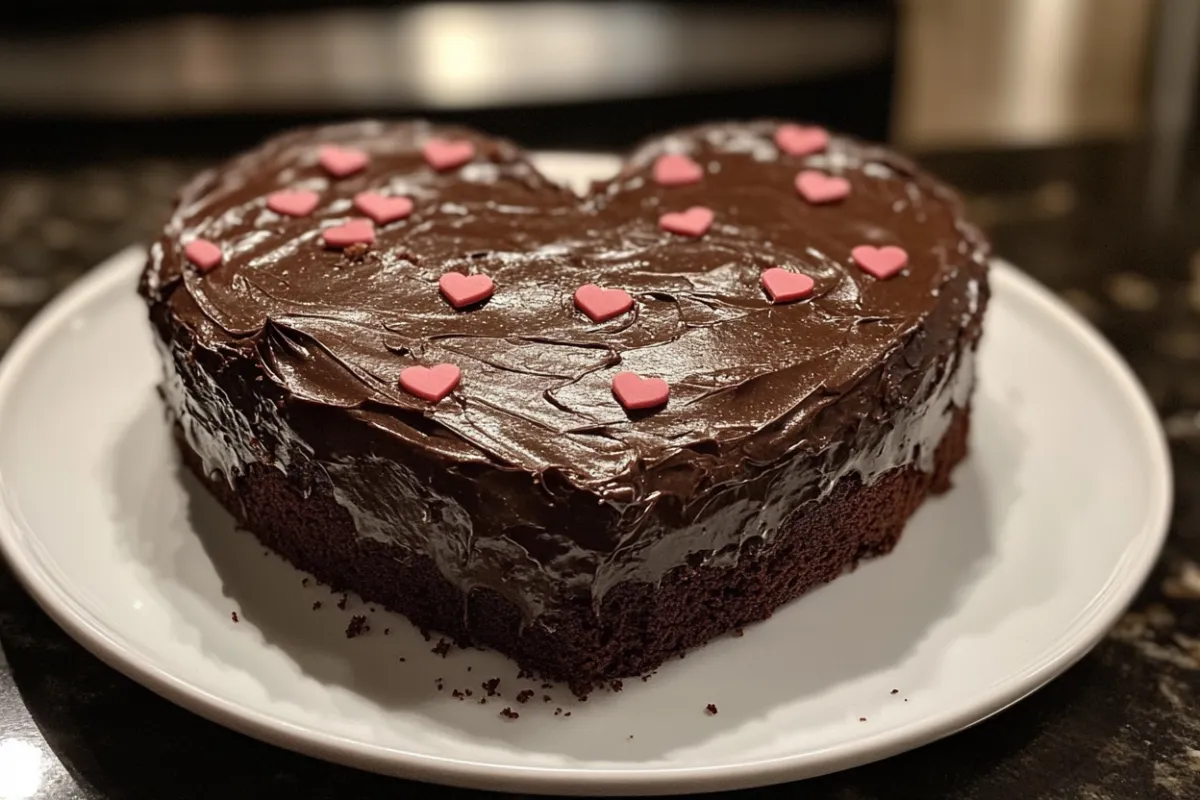
Baking a heart shaped cake without a mold is a fantastic way to add a personal touch to a special occasion, whether it’s a birthday, Valentine’s Day, or an anniversary. You don’t need a fancy heart-shaped pan to create a beautiful and delicious cake that symbolizes love. In fact, with the right technique and tools, you can easily make a heart-shaped cake using common kitchen pans. In this guide, we will walk you through the entire process, from preparing your batter to shaping and decorating the cake, ensuring your creation is both visually appealing and delicious.
Why Make a Heart Shaped Cake Without a Mold?
You may be wondering why someone would choose to make a heart shaped cake without a mold. There are several great reasons why this method is both practical and enjoyable:
- Cost savings: You don’t need to invest in a specific heart-shaped pan, which you might only use once or twice a year. Instead, you can create the shape with pans you likely already have in your kitchen.
- Flexibility: Making a heart-shaped cake without a mold allows you to experiment with different sizes, depending on the event or number of guests. You can customize your cake by simply using a round pan and a square pan.
- Creativity: This method challenges your creativity and gives you the freedom to personalize your cake. From flavor to decoration, you control every aspect of the cake-making process.
For a more detailed guide on DIY cake techniques, check out this article on how to make a heart-shaped cake without a pan. It will guide you through the cutting process in even more detail.
Essential Tools and Ingredients for a Heart Shaped Cake
Before you get started, it’s crucial to have all the necessary tools and ingredients ready. This will ensure a smooth baking process and help you achieve the best results.
Tools You’ll Need
To make a heart shaped cake without a mold, you’ll need the following tools:
- Round pan: This will form the top curves of the heart. Choose a pan size that suits the number of guests.
- Square pan: The square pan will form the base of the heart. It should be the same size as the round pan to ensure proportional shapes.
- Sharp knife: A sharp knife will be crucial for cutting and shaping the cake precisely.
- Spatula: Use a spatula for spreading frosting smoothly across the cake.
- Parchment paper: Lining the pans with parchment will prevent the cake from sticking, making it easier to remove and shape.
- Cooling rack: A cooling rack ensures that your cake cools evenly, preventing cracks or breaks before you assemble the pieces.
For additional tips on cake shaping and preparation, you can explore this DIY cake decorating guide for more creative ideas.
Ingredients
Here’s a basic list of ingredients for making a standard cake:
- Flour: Provides the structure for your cake.
- Sugar: Adds sweetness and texture.
- Butter: Ensures moisture and richness in the cake.
- Eggs: Helps bind the ingredients together and adds richness.
- Baking powder: Ensures that the cake rises and achieves a fluffy texture.
- Milk: Adds moisture and smoothness to the batter.
- Vanilla extract: Enhances the flavor of the cake.
You can also personalize your cake by adding flavors like chocolate, red velvet, or fruit fillings. For dietary considerations, feel free to substitute ingredients like almond flour for a gluten-free option or coconut oil for a vegan recipe.
Step-by-Step Guide: How to Make a Heart Shaped Cake Without a Mold
Step 1: Preparing the Cake Batter
The first step in creating your heart shaped cake is preparing the cake batter. You can use any cake recipe you prefer—chocolate, vanilla, red velvet, or even a gluten-free option. Here’s how to prepare the batter for the best results:
- Cream the butter and sugar: In a large mixing bowl, beat the butter and sugar until light and fluffy. This step is crucial to achieve a smooth and tender cake.
- Add eggs one at a time: Slowly incorporate the eggs, beating well after each addition to ensure the mixture is fully combined.
- Mix the dry ingredients: In a separate bowl, sift together the flour and baking powder.
- Combine dry and wet ingredients: Gradually mix the dry ingredients into the butter mixture, alternating with milk, and add the vanilla extract for flavor.
By ensuring the batter is smooth and free of lumps, you’ll achieve an evenly baked cake. Properly measured ingredients are key to a successful bake.
Step 2: Baking the Cakes in Round and Square Pans
Once the batter is ready, it’s time to bake the cakes in your round and square pans. This step is essential to create the base for your heart shaped cake without a mold:
- Preheat your oven to 350°F (175°C) to ensure an even bake.
- Grease and line your pans with parchment paper to prevent the cake from sticking.
- Pour the batter into the round and square pans, dividing the mixture equally between the two pans.
- Bake for about 25-30 minutes, or until a toothpick inserted in the center comes out clean.
Allow the cakes to cool in the pans for 10 minutes before transferring them to a cooling rack. Let them cool completely before attempting to cut or shape.
Step 3: Shaping the Heart Cake
Now comes the fun part—creating the heart shape. Using your round and square cakes, you can easily form the perfect heart shaped cake without a mold. Follow these steps:
- Cut the round cake in half: Use a sharp knife to cut the round cake into two equal halves. These will form the top two curves of the heart.
- Arrange the cakes: Place the square cake with one corner facing upward, resembling a diamond. Then, position the two halves of the round cake on either side of the top corner of the square cake to form the heart shape.
- Trim the edges: If needed, carefully trim the edges of the cake to ensure the pieces fit together smoothly.
This method is both simple and effective, allowing you to shape a heart cake without needing a special mold.
For more guidance on this technique, check out this detailed cake cutting guide, which provides additional tips for smooth shaping.
Step 4: Cooling and Assembling the Cake
Before you begin decorating your heart shaped cake, it’s essential to let the cake cool completely to prevent the frosting from melting.
- Let the cake rest on a cooling rack for about 30 minutes. This ensures that the cake is stable and prevents it from crumbling.
- Add a filling: If desired, spread a layer of frosting, jam, or buttercream between the layers of the cake before you start frosting the outside. This adds flavor and helps to secure the cake pieces together.
Proper cooling and assembly will help your cake maintain its shape and look professional.
Once your heart shaped cake is fully assembled and cooled, it’s time to move on to the decorating stage. This is where you can truly personalize your cake and make it special for the occasion.
Frosting Ideas
When it comes to frosting your cake, the options are endless. Here are some popular choices:
- Buttercream frosting: This classic frosting is easy to work with and can be colored to match the theme of your event.
- Whipped cream frosting: For a lighter and fluffier finish, whipped cream frosting adds a delicate touch.
- Chocolate ganache: Rich and decadent, chocolate ganache adds a glossy, professional look to your cake.
- Fondant: If you’re going for a smooth and polished finish, fondant is the way to go.
Start by applying a crumb coat—a thin layer of frosting that helps trap any loose crumbs. Let it set in the refrigerator for about 20 minutes before applying the final layer of frosting.
Creative Decorating Ideas
Decorating your heart shaped cake without a mold is where you can let your creativity shine. Here are some fun ideas:
- Piping designs: Use a piping bag to create intricate borders, flowers, or write a personalized message on the cake.
- Edible decorations: Add sprinkles, edible glitter, or fresh flowers to enhance the visual appeal of the cake.
- Themed decorations: For Valentine’s Day, use red and pink colors, and add heart-shaped candies or chocolate truffles. For birthdays, consider using the person’s favorite colors or adding fun elements like candles or toppers.
For more inspiration, check out this cake decorating guide for ideas suited to any occasion.
Common Mistakes to Avoid
Even experienced bakers can encounter issues when making a heart shaped cake without a mold. Here are some common mistakes and how to avoid them:
Uneven Baking
- Problem: One side of the cake bakes unevenly, leading to a lopsided shape.
- Solution: Make sure your oven is fully preheated, and rotate the pans halfway through baking to ensure even heat distribution.
Cake Sticking to the Pan
- Problem: The cake sticks to the pan, making it difficult to remove.
- Solution: Always grease the pans thoroughly and line them with parchment paper to prevent sticking.
Melting or Cracking Frosting
- Problem: The frosting either melts or cracks when applied.
- Solution: Allow the cake to cool completely before frosting. If the frosting is too thick, thin it out with a little milk or water for smoother application.
For more tips on avoiding common baking mistakes, visit this baking troubleshooting guide.
FAQs
Can I Make a Heart Shaped Cake Without a Mold?
Yes! By using a round and square pan, you can easily create a heart shaped cake without a mold. Simply cut the round cake in half and arrange the pieces with the square cake to form a heart shape.
What Type of Cake is Best for This Method?
Any type of cake will work for this method. Popular options include vanilla, chocolate, and red velvet. For those with dietary restrictions, gluten-free and vegan cakes also work well with this technique.
How Do I Cut and Serve a Heart Shaped Cake?
To cut a heart-shaped cake, start by slicing the cake down the center, then cut it into smaller sections from the middle outward. This will ensure even slices for all guests.
Conclusion
Making a heart shaped cake without a mold is a fun, creative process that yields stunning results without the need for specialized equipment. By using simple kitchen tools like a round and square pan, you can create a beautiful cake perfect for any occasion. Whether you’re baking for a birthday, Valentine’s Day, or just to show someone you care, this guide has everything you need to ensure your cake is both delicious and visually appealing.


