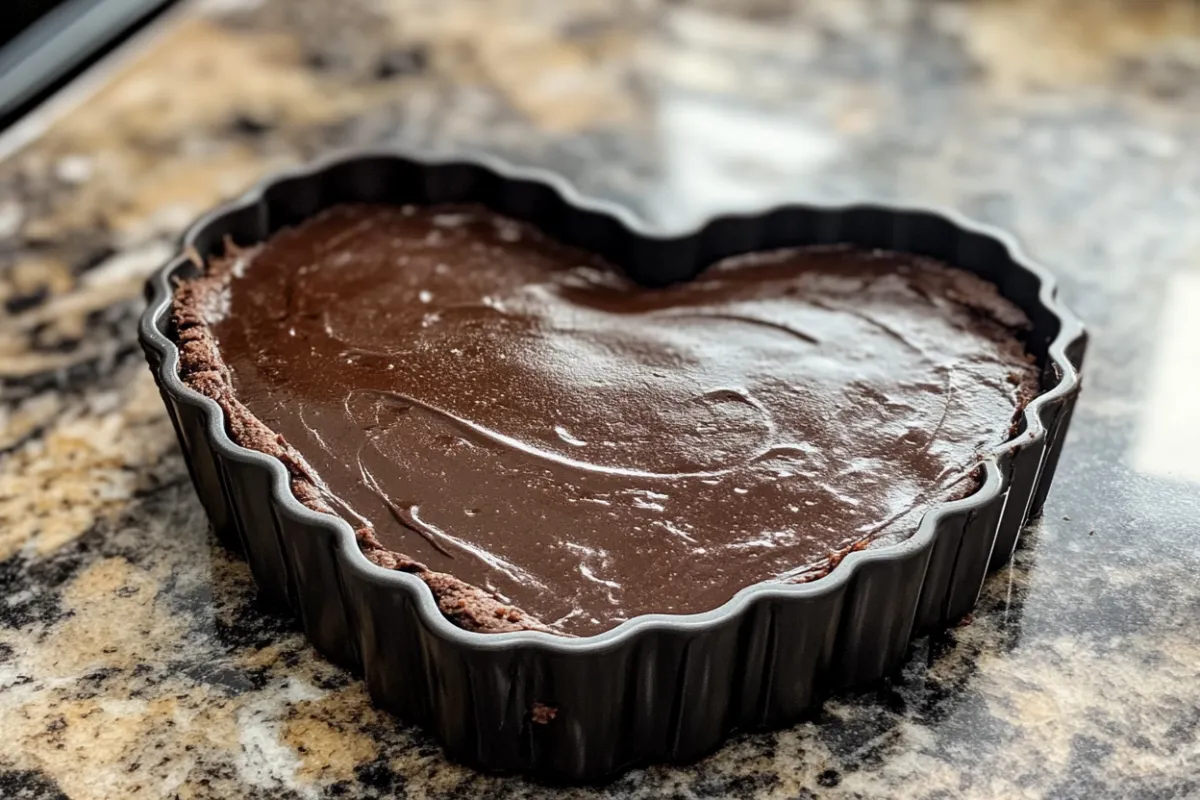
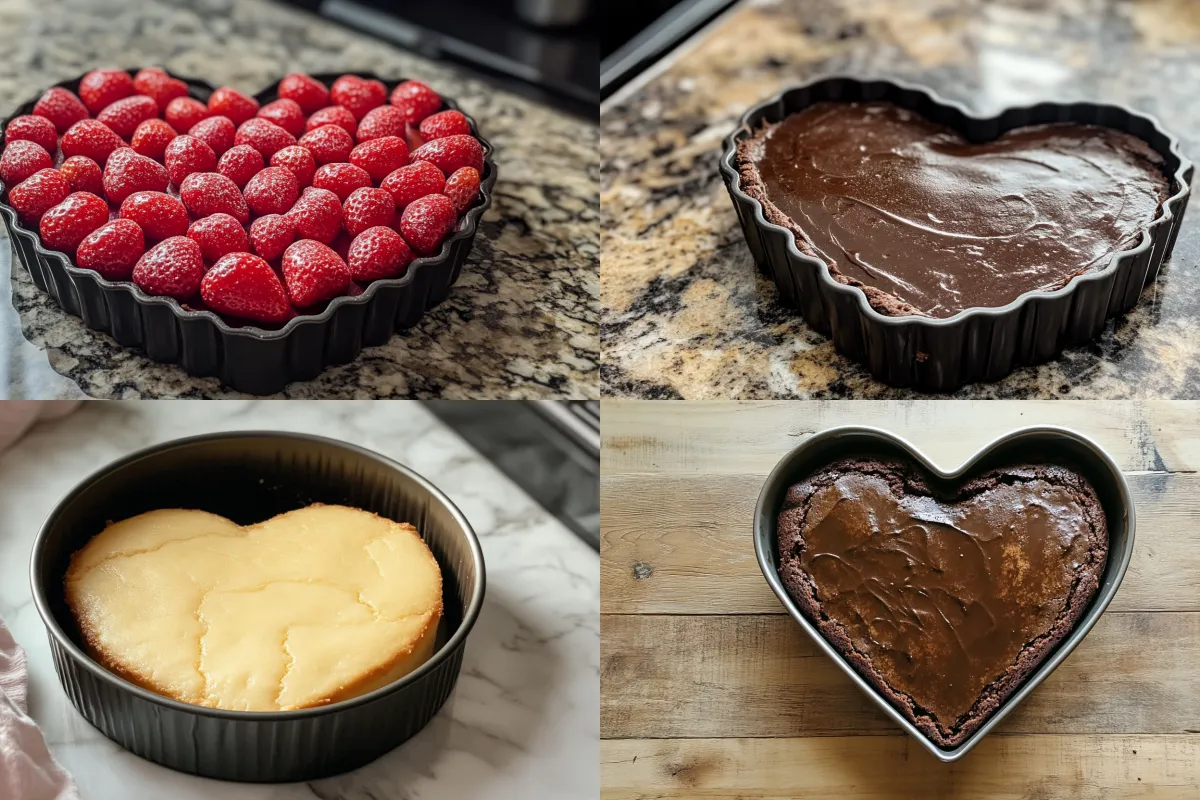
Baking a heart-shaped cake can be a wonderful way to celebrate a special occasion, such as a birthday, Valentine’s Day, or an anniversary. But what if you don’t have a heart-shaped cake tin? Don’t worry! In this guide, we will teach you how to create a DIY heart-shaped cake tin at home using simple materials like aluminum foil. This method is cost-effective, fun, and allows you to bake a beautifully shaped cake without needing to purchase a specialty tin. By following these steps, you can enjoy the satisfaction of creating a custom cake tin that works just as well as any store-bought option.
Gathering Materials for a DIY Cake Tin
Before you begin making your heart-shaped cake tin, it’s essential to gather all the necessary materials. Creating your own cake mold requires minimal supplies, but ensuring you have everything in place will make the process smooth and efficient.
Materials Needed
To make a heart-shaped cake tin, you will need the following:
- Aluminum foil (preferably heavy-duty for added strength)
- Baking sheet to provide a solid base
- Parchment paper to prevent the cake from sticking
- Scissors for cutting the foil
- Tape to hold the foil in place
- Non-stick spray or butter to grease the mold
- Sharp knife for precision when shaping
Using heavy-duty aluminum foil is essential because it ensures the cake tin is sturdy enough to maintain its shape during baking. You can easily find this type of foil at most grocery stores, and it’s food-safe, making it perfect for creating cake tins.
If you need additional help with creative ways to make custom cake shapes, check out this guide on creative cupcake cakes. It’s an excellent resource for shaping cakes beyond just heart-shaped ones.
How to Shape Aluminum Foil Into a Heart
Now that you’ve gathered all your materials, it’s time to start shaping the aluminum foil into a heart. This step-by-step guide will walk you through the process, ensuring that your tin is sturdy and symmetrical.
Step 1: Strengthening the Foil
Begin by folding the aluminum foil multiple times to create a thick, sturdy sheet. This will serve as the walls of your heart-shaped tin. Fold the foil until it’s about 1 inch thick. This thickness will help the tin maintain its structure throughout the baking process.
Step 2: Creating the Heart Shape
To form the heart shape, take the foil and mold it into a V at the bottom. Then, bend the sides outward to create the top curves of the heart. Ensure that the sides of the heart are symmetrical by adjusting the curves as needed. You can use a real heart-shaped object as a guide, or freehand the shape if you’re confident in your artistic skills.
For extra support, place the foil heart on a baking sheet to provide a solid base. The baking sheet will prevent the foil from bending under the weight of the cake batter.
Step 3: Reinforcing the Walls
Once you’ve formed the heart, fold the edges of the foil over themselves to create a more rigid frame. This step is crucial because it strengthens the walls of the tin, ensuring that the cake holds its shape while baking. Double-check that all the edges are secure and smooth, as you don’t want any sharp corners poking through the parchment paper or affecting the cake.
For more detailed instructions on using foil to create a baking tin, you can also refer to this guide on making DIY cake tins with foil.
Preparing the Tin for Baking
Once you have successfully shaped your heart-shaped cake tin, it’s time to prepare it for baking. Proper preparation ensures that the cake bakes evenly and doesn’t stick to the tin.

Step 1: Lining the Tin
Line your DIY tin with parchment paper. This will prevent the cake batter from sticking to the foil, ensuring an easy release once the cake is baked. Cut the parchment paper to fit the shape of the heart, making sure that it covers the entire bottom and sides of the tin.
If you don’t have parchment paper on hand, you can also use non-stick spray or butter to grease the tin. Just be sure to coat the foil evenly to avoid sticking.
Step 2: Securing the Edges
To ensure the tin holds its shape during baking, use small pieces of tape to secure any loose foil edges. This will help keep the shape stable, especially if the cake batter is on the heavier side.
Additionally, place the baking sheet with the foil mold on a flat, level surface inside the oven to prevent shifting.
Baking in the DIY Heart-Shaped Cake Tin
With your heart-shaped cake tin prepped and ready, it’s time to bake your cake. Choosing the right cake recipe and adjusting the baking process slightly can help ensure your cake comes out perfectly shaped and delicious.
Step 1: Choosing the Right Cake Recipe
When using a DIY cake tin, it’s important to select a cake recipe that holds its shape well. Dense cakes, such as butter cakes or chocolate cakes, are ideal because they are less likely to collapse or spread during baking. Lighter cakes, like sponge cakes, might not hold their shape as well in a homemade tin.
Popular options include:
- Chocolate Cake: Its dense texture makes it perfect for holding a defined shape.
- Vanilla Butter Cake: Another excellent choice for firm structure.
- Red Velvet Cake: This adds a festive color, making it great for romantic occasions like Valentine’s Day.
Step 2: Filling the Tin with Batter
Once your batter is ready, pour it into the heart-shaped tin, filling it about 2/3 of the way. Be careful not to overfill the tin, as the cake will rise while baking, and you don’t want it to spill over the sides.
Spread the batter evenly within the tin to maintain the heart shape as the cake bakes. If your batter is thick, use a spatula to ensure it reaches all corners of the mold.
Step 3: Adjusting Baking Time
Because the DIY tin is made of aluminum foil, the cake might bake slightly differently than it would in a traditional pan. Keep an eye on the cake as it bakes, and check it regularly with a toothpick inserted into the center. If the toothpick comes out clean, the cake is ready.
Baking times can vary depending on the thickness of the batter, but typically, it will take around 25–35 minutes for a standard cake. Be sure to adjust the time based on your specific recipe and oven.
Decorating the Heart-Shaped Cake
Now that your cake has successfully baked in your DIY tin, it’s time for the fun part—decorating! Decorating a heart-shaped cake offers plenty of creative opportunities to personalize your creation.
Step 1: Frosting Techniques
The shape of the cake is already a statement, but frosting can elevate the presentation even more. Buttercream frosting is a popular choice because it’s easy to spread and pipe.
Here are a few ideas for decorating the heart:
- Outline the Heart: Use a piping bag fitted with a small round tip to outline the edges of the heart with a contrasting color of frosting. This will enhance the shape and make it stand out.
- Fill the Heart: Use an offset spatula to spread a smooth layer of frosting over the entire cake. You can opt for a classic red or pink, or go for a more unconventional color like white or purple.
- Add Texture: Piping rosettes or stars within the heart creates visual interest. Use a star tip to create small peaks of frosting that resemble floral patterns.
If you need more inspiration, you can find additional decoration ideas in this guide to cake decorating for beginners.
Step 2: Edible Decorations
To further enhance the heart shape, you can add edible decorations such as sprinkles, heart-shaped candies, or fruit slices like strawberries. These decorations not only add flavor but also visually highlight the heart design.
If you’re looking for creative ideas involving fruits, this watermelon cake guide offers some fresh inspiration for fruit-based decorations that pair well with cakes.
Common Mistakes to Avoid
Although making a heart-shaped cake tin is relatively simple, a few common mistakes can ruin the final product. Here’s how to avoid them:
- Overfilling the Tin: Make sure not to fill the DIY tin to the top, as the batter will expand while baking. Always leave room for the cake to rise.
- Weak Tin Structure: Reinforce the edges of your foil mold by folding the sides multiple times. This ensures the tin holds its shape while the cake bakes.
- Uneven Baking: Use a baking sheet to provide stability to the foil tin. This will prevent the cake from sagging or tilting to one side.
- Improper Lining: Be sure to line the tin with parchment paper or grease it thoroughly with butter. This will prevent the cake from sticking to the foil and ensure a smooth release.
Storing and Reusing Your DIY Tin
After baking your cake, you can store or even reuse your DIY heart-shaped cake tin. Here’s how to properly clean and store it for future use.
Cleaning the Tin
Once the cake has cooled and been removed from the tin, gently peel off the parchment paper and dispose of any leftover crumbs or batter. If the tin is still intact, carefully wash it with warm soapy water and allow it to air dry. Aluminum foil can be surprisingly durable when handled with care.
Reusing the Tin
If you’ve reinforced the foil enough and it hasn’t torn during baking, you can reuse the same tin for future cakes. Just be sure to inspect it for any weak spots before using it again. If the foil has become too thin or damaged, it’s best to discard it and make a new one for your next cake.
FAQs About Making a Heart-Shaped Cake Tin
Can I use regular foil instead of heavy-duty aluminum foil?
While you can use regular foil, heavy-duty foil is recommended for better structure and durability. It will hold its shape better under the weight of the cake batter.
What kind of cakes work best with a DIY heart-shaped tin?
Dense cakes, such as chocolate cakes or butter cakes, are ideal because they hold their shape better than lighter cakes like sponge or chiffon cakes.
How do I prevent my cake from sticking to the tin?
Line the DIY tin with parchment paper, or generously grease the foil with butter or non-stick spray to ensure the cake easily releases after baking.
Can I reuse my homemade cake tin?
Yes, as long as the foil hasn’t torn or become too thin, you can reuse the tin. Be sure to clean it carefully and store it in a safe place for future use.
Conclusion
Creating a heart-shaped cake tin at home is a fun and practical solution when you don’t have the proper baking tools. Not only is it easy and cost-effective, but it also allows you to get creative with your baking projects. By following this guide, you can craft a beautiful heart-shaped cake that will impress your friends and family, all without needing to purchase a specialty pan. Whether you’re baking for a loved one or for yourself, making a heart-shaped cake from scratch is a sweet gesture that everyone will appreciate.

